|
|
 发表于 2022-12-3 19:48:19
|
显示全部楼层
发表于 2022-12-3 19:48:19
|
显示全部楼层
自我介绍
广东双非一本的大三小白,计科专业,想在制作毕设前夯实基础,毕设做出一款属于自己的游戏!
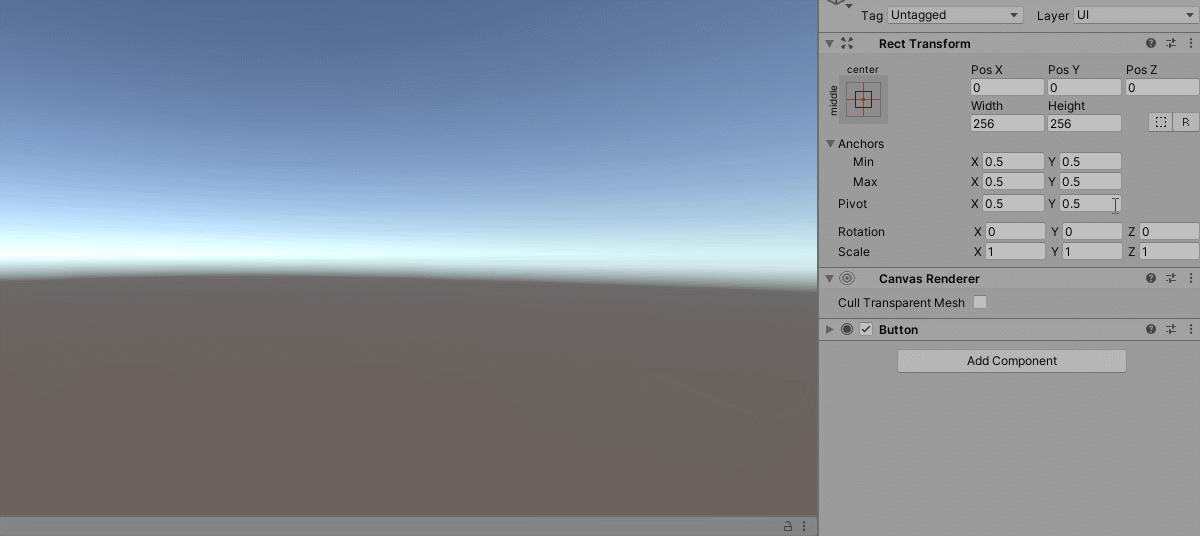
使用顶点描绘圆形图片
这是制作一个以后都能泛用的圆形image(可以做CD技能相关)
主要是两个脚本 - CircleImage.cs - CircleImageEditor.cs
CircleImage.cs 主要是用 segements 来控制边的数量,毕竟图像由多个三角形构成,只要三角形(直边)够多,看上去就像是圆形
该脚本还完成的功能有: - 制作类似技能CD的功能 - 精确点击(可以挂载一个Button组件测试)
using System.Collections.Generic;
using UnityEngine;
using UnityEngine.Sprites;
using UnityEngine.UI;
public class CircleImage : Image
{
/// <summary>
/// 圆形由多少块三角形拼成
/// </summary>
[SerializeField]
private int segements = 100;
//显示部分占圆形的百分比.
[SerializeField]
private float showPercent = 1;
[SerializeField]
private Color32 hideColor = new Color32(60, 60, 60, 255);
private List<Vector3> _vertexList;
protected override void OnPopulateMesh(VertexHelper vh)
{
vh.Clear();
_vertexList = new List<Vector3>();
AddVertex(vh, segements);
AddTriangle(vh, segements);
}
private void AddVertex(VertexHelper vh, int segements)
{
float width = rectTransform.rect.width;
float heigth = rectTransform.rect.height;
int realSegments = (int)(segements * showPercent);
Vector4 uv = overrideSprite != null ? DataUtility.GetOuterUV(overrideSprite) : Vector4.zero;
float uvWidth = uv.z - uv.x;
float uvHeight = uv.w - uv.y;
Vector2 uvCenter = new Vector2(uvWidth * 0.5f, uvHeight * 0.5f);
Vector2 convertRatio = new Vector2(uvWidth / width, uvHeight / heigth);
float radian = (2 * Mathf.PI) / segements;
float radius = width * 0.5f;
Vector2 originPos = new Vector2((0.5f - rectTransform.pivot.x) * width, (0.5f - rectTransform.pivot.y) * heigth);
Vector2 vertPos = Vector2.zero;
Color32 colorTemp = GetOriginColor();
UIVertex origin = GetUIVertex(colorTemp, originPos, vertPos, uvCenter, convertRatio);
vh.AddVert(origin);
int vertexCount = realSegments == 0 ? 0 : realSegments + 1;
float curRadian = 0;
Vector2 posTermp = Vector2.zero;
for (int i = 0; i <= segements; i++)
{
float x = Mathf.Cos(curRadian) * radius;
float y = Mathf.Sin(curRadian) * radius;
curRadian += radian;
if (i < vertexCount)
{
colorTemp = color;
}
else
{
colorTemp = hideColor;
}
posTermp = new Vector2(x, y);
UIVertex vertexTemp = GetUIVertex(colorTemp, posTermp + originPos, posTermp, uvCenter, convertRatio);
vh.AddVert(vertexTemp);
_vertexList.Add(posTermp + originPos);
}
}
private Color32 GetOriginColor()
{
Color32 colorTemp = (Color.white - hideColor) * showPercent;
return new Color32(
(byte)(hideColor.r + colorTemp.r),
(byte)(hideColor.g + colorTemp.g),
(byte)(hideColor.b + colorTemp.b),
255);
}
private void AddTriangle(VertexHelper vh, int realSegements)
{
int id = 1;
for (int i = 0; i < realSegements; i++)
{
vh.AddTriangle(id, 0, id + 1);
id++;
}
}
private UIVertex GetUIVertex(Color32 col, Vector3 pos, Vector2 uvPos, Vector2 uvCenter, Vector2 uvScale)
{
UIVertex vertexTemp = new UIVertex();
vertexTemp.color = col;
vertexTemp.position = pos;
vertexTemp.uv0 = new Vector2(uvPos.x * uvScale.x + uvCenter.x, uvPos.y * uvScale.y + uvCenter.y);
return vertexTemp;
}
public override bool IsRaycastLocationValid(Vector2 screenPoint, Camera eventCamera)
{
Vector2 localPoint;
RectTransformUtility.ScreenPointToLocalPointInRectangle(rectTransform, screenPoint, eventCamera, out localPoint);
return IsValid(localPoint);
}
private bool IsValid(Vector2 localPoint)
{
return GetCrossPointNum(localPoint, _vertexList) % 2 == 1;
}
private int GetCrossPointNum(Vector2 localPoint, List<Vector3> vertexList)
{
int count = 0;
Vector3 vert1 = Vector3.zero;
Vector3 vert2 = Vector3.zero;
int vertCount = vertexList.Count;
for (int i = 0; i < vertCount; i++)
{
vert1 = vertexList;
vert2 = vertexList[(i + 1) % vertCount];
if (IsYInRang(localPoint, vert1, vert2))
{
if (localPoint.x < GetX(vert1, vert2, localPoint.y))
{
count++;
}
}
}
return count;
}
private bool IsYInRang(Vector2 localPoint, Vector3 vert1, Vector3 vert2)
{
if (vert1.y > vert2.y)
{
return localPoint.y < vert1.y && localPoint.y > vert2.y;
}
else
{
return localPoint.y < vert2.y && localPoint.y > vert1.y;
}
}
private float GetX(Vector3 vert1, Vector3 vert2, float y)
{
float k = (vert1.y - vert2.y) / (vert1.x - vert2.x);
return vert1.x + (y - vert1.y) / k;
}
}
只有这一个脚本是不能展示我们自定义的一些字段的,比如 segements 所以我们需要一个editor文件
CircleImageEditor.cs
using UnityEngine;
using UnityEditor;
[CustomEditor(typeof(CircleImage), true)]
[CanEditMultipleObjects]
public class CircleImageEditor : UnityEditor.UI.ImageEditor
{
SerializedProperty _fillPercent;
SerializedProperty _segements;
SerializedProperty _hideColor;
protected override void OnEnable()
{
base.OnEnable();
_fillPercent = serializedObject.FindProperty(&#34;showPercent&#34;);
_segements = serializedObject.FindProperty(&#34;segements&#34;);
_hideColor = serializedObject.FindProperty(&#34;hideColor&#34;);
}
public override void OnInspectorGUI()
{
base.OnInspectorGUI();
serializedObject.Update();
EditorGUILayout.Slider(_fillPercent, 0, 1, new GUIContent(&#34;showPercent&#34;));
EditorGUILayout.PropertyField(_segements);
EditorGUILayout.PropertyField(_hideColor);
serializedObject.ApplyModifiedProperties();
if (GUI.changed)
{
EditorUtility.SetDirty(target);
}
}
}
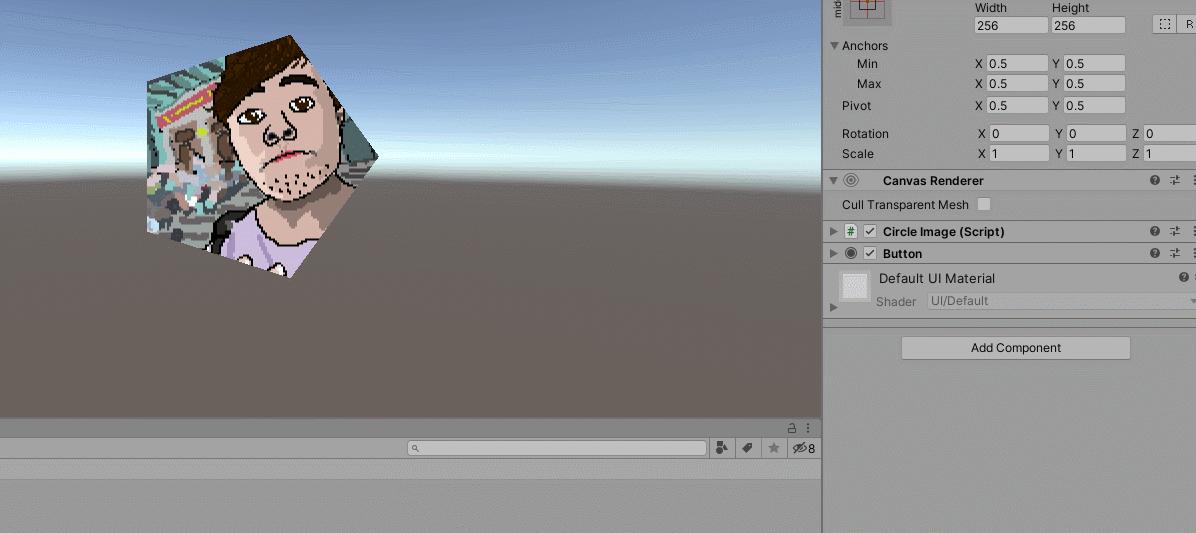
测试:
CD功能
精确点击
<hr/>不规则图形点击
unity自带的精确点击策略
新添一个 IrregularShapeClick.cs 原理是识别图片透明度,小于0.1的就不能被点击
using UnityEngine;
using UnityEngine.UI;
public class IrregularShapeClick : MonoBehaviour
{
void Start()
{
GetComponent<Image>().alphaHitTestMinimumThreshold = 0.1f;
}
}
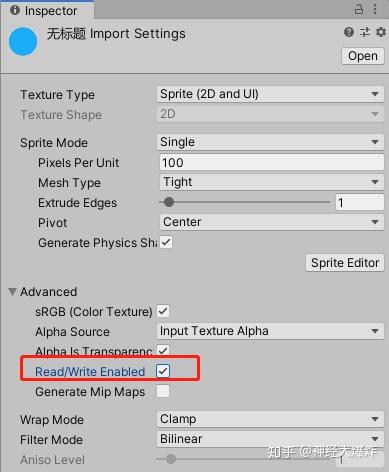
除了要挂载上述脚本,还需要在图片的高级设置中设置,一定要勾选 Read/Write Enabled 开启读写模式
如果不开启,unity是==不允许你访问image里的alphaHitTestMinimumThreshold属性==的
测试成功

但是这种方法不推荐,开启读写模式之后,会增大图片内存,会有性能负担
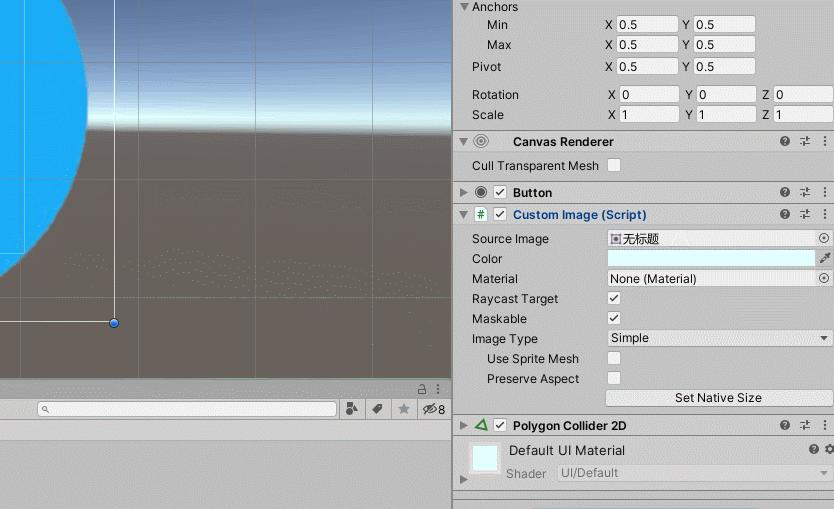
我们需要使用 Polygon Collider 2D 组件配合我们自定义的脚本完成精确点击
为此我们需要两个脚本: - CustomImage.cs - CustomImageEditor.cs
CustomImage.cs
using UnityEngine;
using UnityEngine.UI;
public class CustomImage : Image
{
private PolygonCollider2D _polygon;
private PolygonCollider2D Polygon
{
get
{
if (_polygon == null) _polygon = GetComponent<PolygonCollider2D>();
return _polygon;
}
}
public override bool IsRaycastLocationValid(Vector2 screenPoint, Camera eventCamera)
{
Vector3 point;
RectTransformUtility.ScreenPointToWorldPointInRectangle(rectTransform, screenPoint, eventCamera, out point);
return Polygon.OverlapPoint(point);
}
}
CustomImageEditor.cs
using UnityEditor;
using UnityEngine;
using UnityEngine.UI;
public class CustomImageEditor : Editor
{
private const string UI_LAYER = &#34;UI&#34;;
[MenuItem(&#34;GameObject/UI/CustomImage&#34;, priority = 0)]
private static void AddImage()
{
Transform canvasTrans = GetCanvasTrans();
Transform image = AddCustomImage();
if (Selection.activeGameObject!= null && Selection.activeGameObject.layer == LayerMask.NameToLayer(UI_LAYER))
image.SetParent(Selection.activeGameObject.transform);
else
image.SetParent(canvasTrans);
image.localPosition = Vector3.zero;
}
private static Transform GetCanvasTrans()
{
Canvas canvas = GameObject.FindObjectOfType<Canvas>();
if (canvas == null)
{
GameObject canvasObj = new GameObject(&#34;Canvas&#34;);
canvasObj.layer = LayerMask.NameToLayer(UI_LAYER);
canvasObj.AddComponent<RectTransform>();
canvasObj.AddComponent<Canvas>().renderMode = RenderMode.ScreenSpaceOverlay;
canvasObj.AddComponent<CanvasScaler>();
canvasObj.AddComponent<GraphicRaycaster>();
return canvasObj.transform;
}
else
{
return canvas.transform;
}
}
private static Transform AddCustomImage()
{
GameObject image = new GameObject(&#34;Image&#34;);
image.layer = LayerMask.NameToLayer(UI_LAYER);
image.AddComponent<RectTransform>();
image.AddComponent<PolygonCollider2D>();
image.AddComponent<CustomImage>();
return image.transform;
}
}
在编辑器中还设置了在hierarchy中添加 CustomImage 上面的 CircleImage 也可以在Editor脚本中进行如此操作
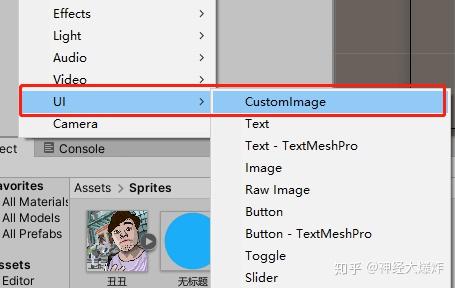
测试成功
 |
|

